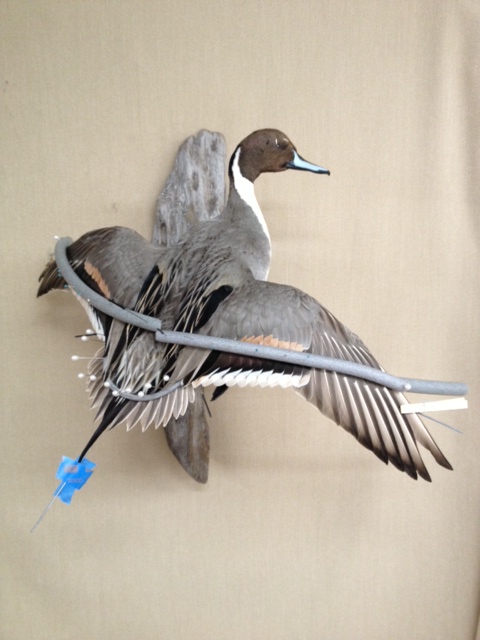
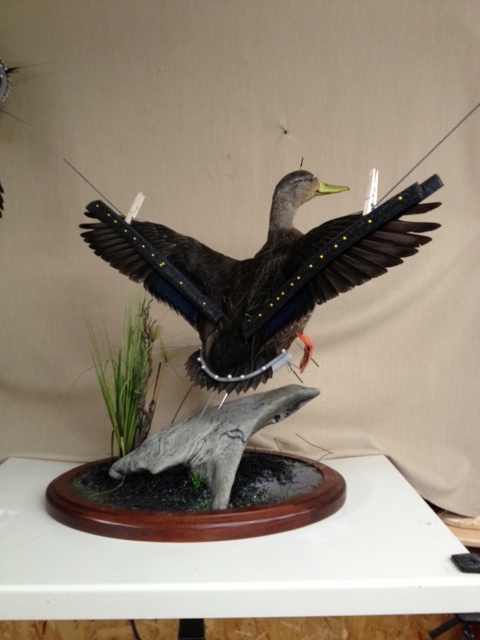
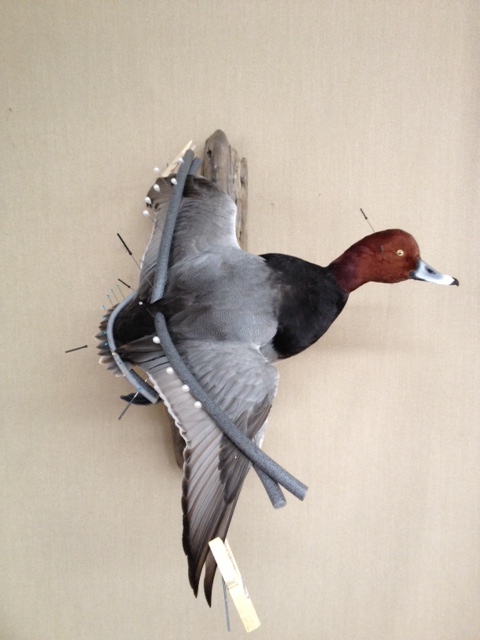
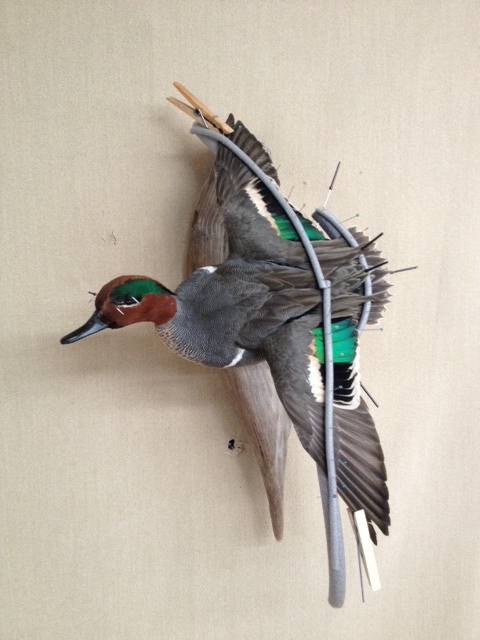
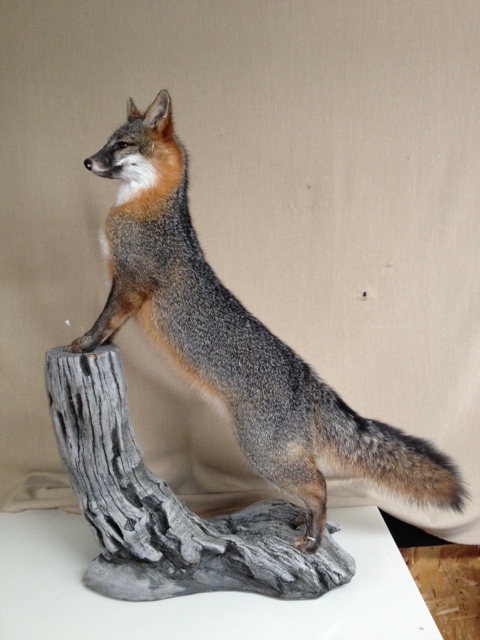
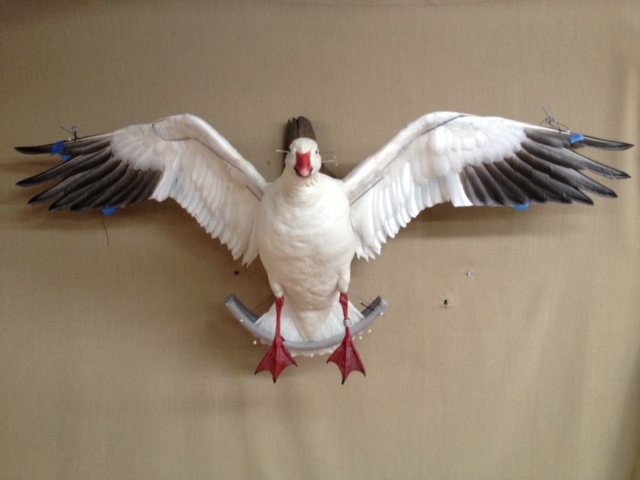
Its going to be another busy week in the shop! I will only be mounting 1 animal this week, a drake pintail for Robert H. The rest of my time will be spent preparing 3 black ducks for Jim C., 2 green wing teal for Dillon E., 3 teal for Michael F., a blue-phase snow goose for Cliff P., a mallard for Robert H., 2 lesser scaup for Michael F. and a hooded merganser for Stewart G. As if that wasn’t enough, I will also be prepping 2 grey foxes, 1 for Teresa S. and 1 for Marged H., as well tanning a deer for Eric B. and Joe W. Maybe I will even find time to sleep and eat!
Author Archive: Ryan Garrison
18 January 2013
Here are the fruits of my labor for the past 2 days. Yesterday, I mounted a beautiful drake pintail for S. Hilgoe in a flushing pose. Today’s project was a huge drake American black duck for J. Dalton. This bird was also mounted in a flushing pose. This weekend I will be mixing business with pleasure by delivering a snow goose to S. Mercer and duck hunting in Southport, NC. Hopefully, I will get some good looking birds to mount for competitions this year!
15 January 2013
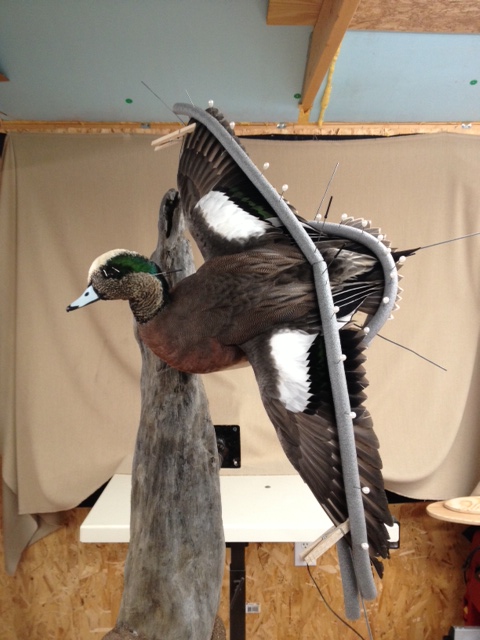
Today I finished the hen for the pair of widgeon that I started yesterday. Try to look past all of the pins and wires! After it dries, I am going to add some cattails to the habitat to liven it up a little bit. Tomorrow I am planning to mount a drake redhead for M. Fuller and a drake green wing teal for R. Hilgoe.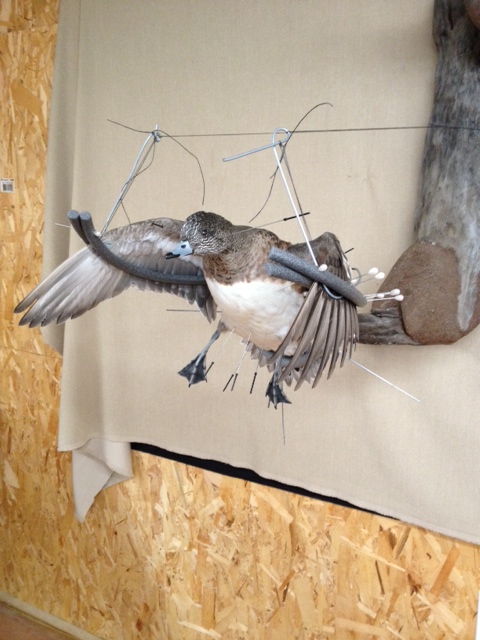
14 January 2013
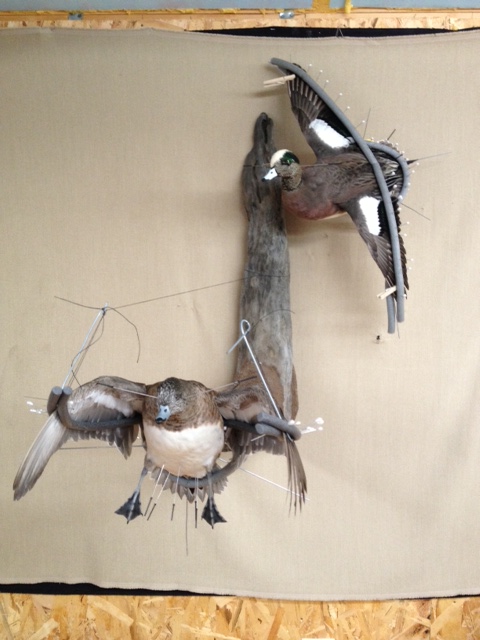
Today was very productive! I got 2 ducks mounted, a drake American widgeon and drake canvas back. The widgeon is 1 of a pair that will be mounted on the same piece of wood for J. Dalton. The hen will be mounted down below the drake in a landing pose. She is scheduled for first thing in the morning. I will post pictures of the pair when the hen is mounted.
I have to say the canvas back was one of the toughest birds I’ve mounted in quite a while because it was freezer burned. It was a real struggle to get the feather tracts to stay in the correct places. I finally got it in good looking shape. We will see what it looks like when its dried! Let me take this time to stress that if you plan on mounting any animal, especially a bird, you must store it properly before taking it to the taxidermist. Putting it in a grocery bag and then sticking it in the freezer will not protect the animal in any way. It may as well be just laying in the freezer unprotected. To store a bird, or any animal for that matter, place it in a trash bag and wrap it up while removing as much air as possible, but being careful not to damage the feathers. Then place the wrapped bird inside another trash bag and seal the bag with masking tape. When stored in this manner, a bird can remain frozen for up to a year with no damage or freezer burn!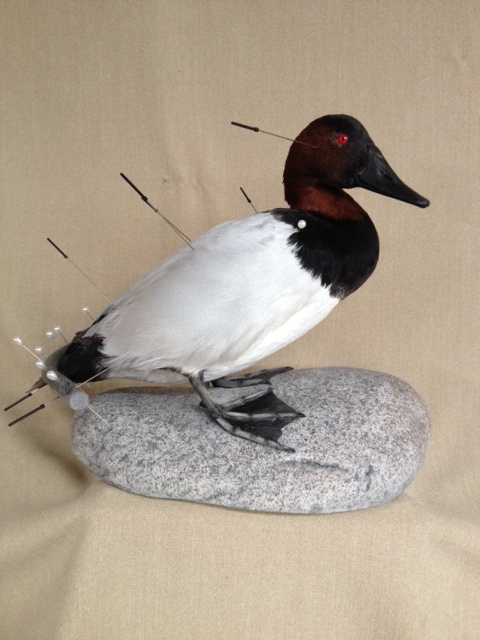
12 January 2013
Things were very productive and a little stressful in the shop this week. On the productive side, after many long hours, I have 13 ducks that are ready to mount! On the stressful side, I went to take some ducks out of my large freezer Wednesday evening and I noticed that everything was starting to thaw. So that evening I scoured Craigslist to no avail. Thursday morning, I decided to bite the bullet and go to Lowes and buy a new 20 cubic foot chest freezer. Low and behold, they do not stock anything over 15 cubic feet. That lead to me driving all over Southern Pines and Aberdeen stopping at every appliance center I could find, but none of them had a freezer big enough. Well, to solve the problem I ended up buying 2 freezers! Oh well, at least I noticed the freezer was out before I lost anything. Now I will have a little peace of mind with 2 brand new freezers with extended warranties! Well, back to business. This week will be all duck mounts. I will post pictures as I get them mounted, so check back throughout the week.
2 January 2013
Happy New Year! Now that the holidays are over, the taxidermy shop is running at full speed. This week I will be mounting a snow goose for S. Mercer and beginning work on a pair of widgeon for J. Dalton. Monday the 7th, I will be mounting a grey fox for E. Ellis and the rest of the week will be spent doing the prep work for 10 ducks! These ducks include a black duck for J. Dalton, 2 teal and a redhead for M. Fuller, a pintail for S. Hilgoe, a pintail and teal for R. Hilgoe and 3 black ducks for J. Cushing. I will try to post some pictures after I get a few things mounted so check back often to see how things are going!
Caping Large Mammals
 If you want a shoulder or pedestal mount of your white-tailed deer, wild pig or bull elk there are a few things to remember when caping out the animal.
– NEVER make any cuts in front of the front legs.
– Start caping your animal by cutting completely around the body, exactly in the middle, between the front and back legs. This will ensure that the taxidermist has enough cape to work with, no matter what pose you choose.
– Cut completely around the front legs, about 1 inch up from the “elbow”.
– Start an incision at the cut around the legs on the back side of the leg where the long brown hairs meet the long white hairs. Continue cutting up this hair line into the “arm pit”. From the “arm pit”, cut straight back to the incision around the body of the animal.
– Once all the incisions are made, start removing the cape working your way toward the head. Be careful not to cut any holes in the cape.
– Release the cape all the way to the base of the head. Sever the neck approximately 4 inches from the base of the head.
– After the head and cape are separated from the carcass, place them into a trash bag. Remove as much air from the bag as possible and seal the bag with tape around the base of the antlers if they will not fit inside the bag. Once completed, double bag the head and cape and seal again with tape. Place the bagged head and cape in the freezer.
Lifesize Mammals
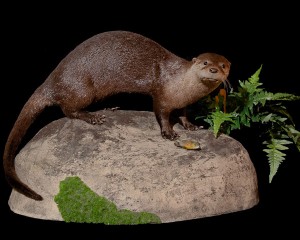 These steps are for preparing mammals that are coyote size or smaller. Larger mammals, to be mounted life-size, will be covered at the end of this section.
– Do NOT skin or field dress the animal. The taxidermist will skin the animal in the proper way depending on the species and desired pose.
– Place the entire animal in a trash bag and remove as much air from the bag as possible. After removing the air, zip-tie the end of the bag or tie the end of the bag in a knot. Place the bagged animal into another trash bag and seal the bag as before.
– Gently place the animal into the freezer without tearing holes in the bag. Try to position the legs so that they are close to the body, as if the animal is curled up sleeping. This will prevent claws from tearing open the bags.
Any animal larger than a coyote needs to be taken to the taxidermist as soon as possible. Call the taxidermist to make arrangements for delivering your animal.
Fish
 Congratulations! You’ve just caught the largest fish of your life and you want to mount it and show all of your buddies! This is the question: do you want a skin mount, or will you release the fish and get a fiberglass reproduction? Whatever your decision, here are the steps you need to follow.
Skin Mount
– Find an old towel and thoroughly saturate it with water. Wring out as much water from the towel as possible, and lay the towel out on a flat surface.
– Place the fish in the center of the towel and be sure that all of the fins are lying flat against the body.
– Carefully fold the top of the towel over the fish. Next, fold the bottom of the towel over the fish. At this point, the entire fish should be covered by the towel. Fold the towel over the head and toward the tail. Finally, place your hand over the tail, then fold the excess towel over your hand ensuring that the tail fin is not bent.
– Place the towel-wrapped fish in a trash bag and wrap the bag around the fish. Gather the open end of the bag and seal with masking tape or a zip-tie. Place the fish in the freezer lying on a flat surface.
Fiberglass Reproduction
There are 2 measurements you need to take on your trophy fish before returning it to the water. These measurements should be taken with a tape measure. If one is not available, you can use rope or string and mark it for the different measurements. The first measurement you need is the total length of the fish from the front of the closed mouth to the end of the tail. The next measurement is the girth or circumference around the center of the fish at its widest point. Another useful measurement is the true weight of the fish. This isn’t critical information, but could help the taxidermist in ordering an accurate reproduction.
Due to the differences in coloration and patterns among fish of the same species, it is always helpful to provide photos of the fish taken shortly after it was caught. This helps the taxidermist replicate the look of your specific fish.
Birds
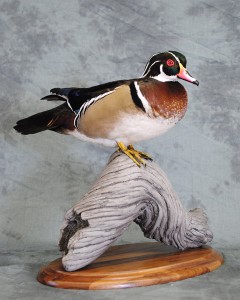 So you’ve harvested a trophy bird! There are a few simple steps that you need to complete before freezing your bird.
– Examine your bird for any major damage, such as large patches of missing feathers and damaged wing feathers. These type of damages could limit the possible poses available to produce a beautiful mount. Make a note of any damage and its location and inform the taxidermist.
– If the feathers are extremely bloody, gently rinse the bird in cool, running water and carefully pat dry with a paper towel.
– To package the bird for freezing, lay the bird on its back and tuck its head under one of its wings. Do NOT wrap the bird in newspaper or paper towels. This will draw blood away from the body and to the feathers, as well as drawing out moisture from the skin, causing freezer burn. Carefully place the bird into the bottom of a trash bag. Next, roll the bird in the trash bag from the bottom of the bag to the top, taking precaution not to bend any of the tail or wing feathers. Remove as much air from the bag as possible without damaging the feathers. Place the rolled up bird inside another trash bag and roll the bag around the bird as before. Gently apply masking tape around the bag and the bird to seal.
– Finally, place the bird in the freezer and be sure that no other items are resting on the bird.

